Robert Ball - Page 4


Updates on Robert Ball's XP-67 project. Click on a picture to open it in another window (and right side up).

February 19, 2020


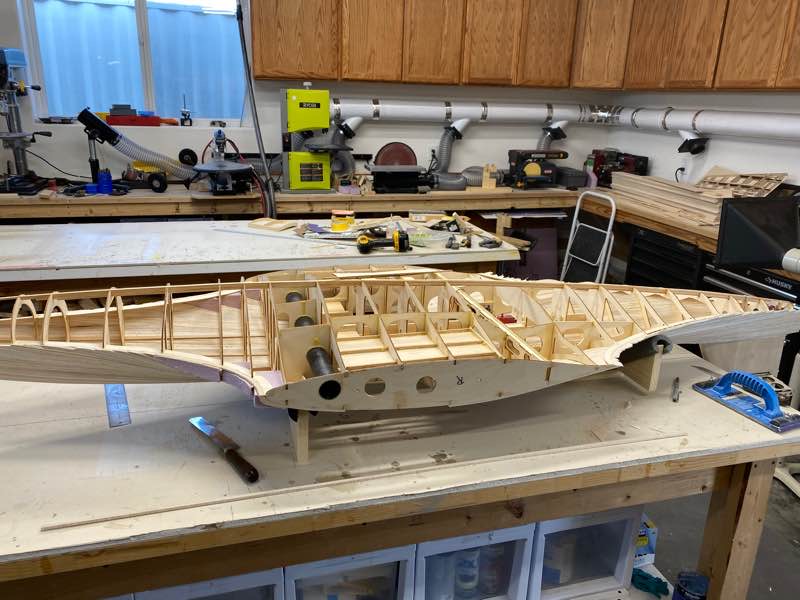
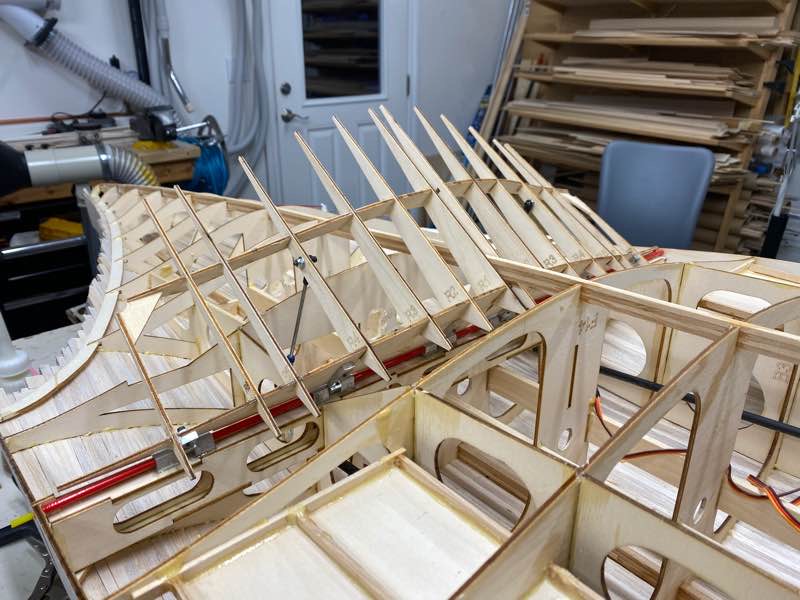
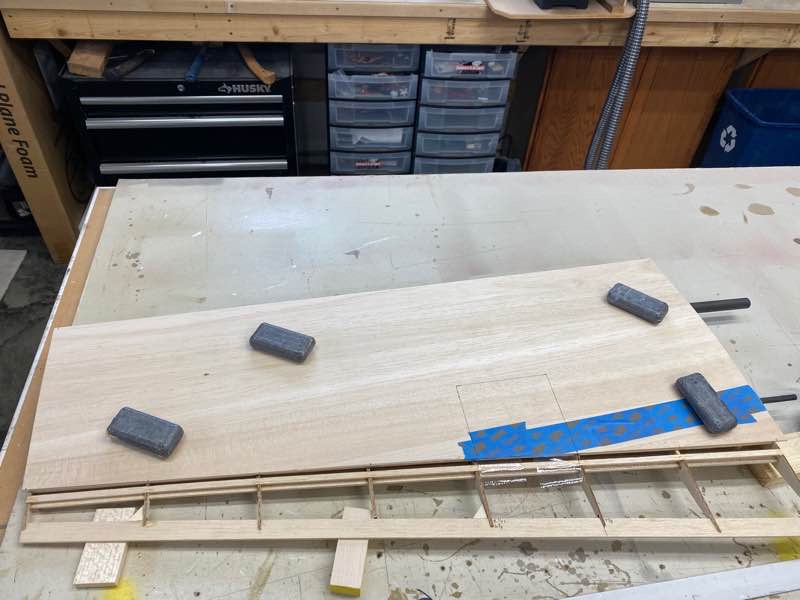
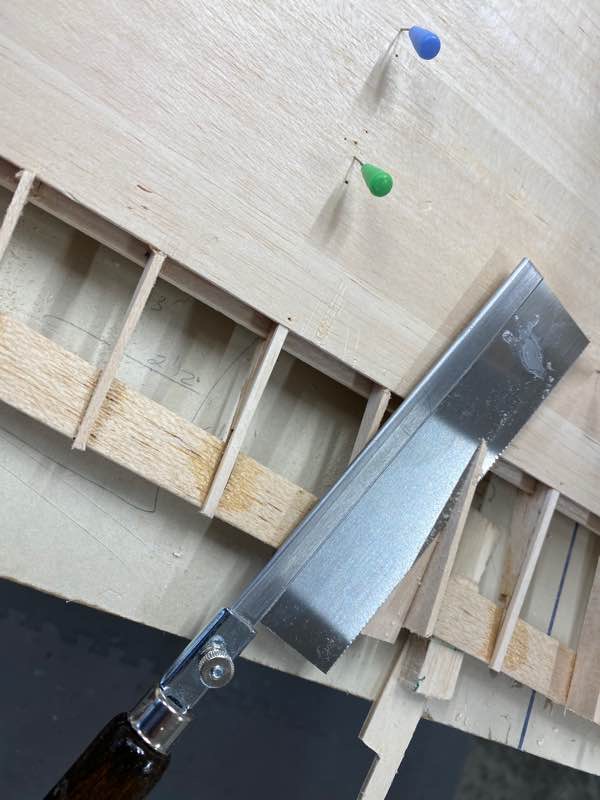
The top of the fuselage has been planked, I’ve  glued blocks of pink foam to the leading edge areas that had too much curve for the planking to bend around. Once the foam is roughly carved to shape I’ll remove the fuselage from the fixture and turn it over and place in a cradle to hold it secure while I work on the bottom.  First, installing the flaps and then   cutting out the cockpit from the inside. After he bottom is planked and sanded I’ll layup some fiberglass to make the nose gear doors.

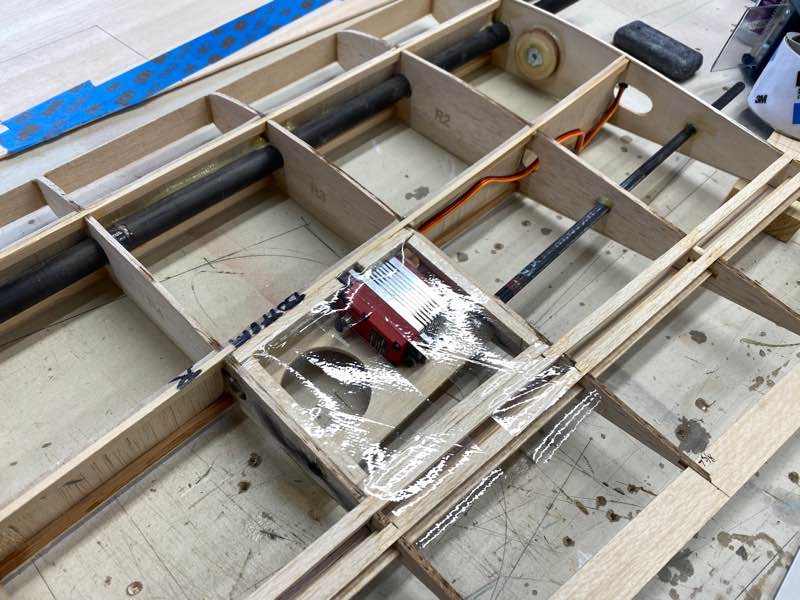
Both battery hatches are built and waiting on magnets.  It seems I’ve completed about 1/3 of the planking and with sore fingers it will be nice to move on to other construction on the Moonbat.

February 23, 2020

I turned the fuselage over and placed in a cradle to make it easier to plank and work on it.
Jim brought the flap hinges by today allowing me to proceed with installing them.

A Nyrod and sleeve provide the hinge pin. The outer sleeve goes between the blocks and the inner all the way across the fuselage allowing easy removal of the flaps if necessary.

February 24, 2020


After getting the hinge pieces yesterday, today was spent assembling the flap frame, it’s split into left and right sides in order to preserve the bottom longeron.

After the glue cured I measure 37 degrees of travel, if that is enough will wait for flight testing. I can get more travel but I’ll have to notch the stiffeners on each side.

February 28, 2020


With the fuselage turned over I’m working on other bits and pieces

Because the XP’s fuselage is quite large with a lot of odd sized formers and impediments I installed a wiring conduit down the middle to facilitate installing and removing the servo wires. The conduit is Estes Rocket tube BT20 a light weight .744”dia.

The conduit extends from the vertical stab to just shy of the cockpit where the electronics shelf will sit below.

The last thing accomplished today was the installation of the nose wheel steering servo.

March 9, 2020

A lot of small items are being attended to now, today I blocked in the pitot tube to the outer rib of the left wing. All of the big airplanes I’ve built over the past 5 years have had airspeed readouts, quite the confidence booster to know the actual speed your taking off, the stalling speed and a landing speed.

Because in the past I’ve suffered leakage in the pressure and static lines I made it removable, It’s blocked in using 1/4” balsa plank, the tube is captured by a removable block on the bottom side and the wingtip block. Access is by a single button head screw. When the wing is sheeted the block will be faired in with the wing tip.  I may install a second on on the other wing as the real aircraft had one on each wingtip.

Started sheeting the outer wing panels, the first step was to mount the aileron servo then apply packing tape around the servo hatch supports, this prevents he sheeting glue from sticking the hatch portion down.

The bottom sheeting ready to glue, note the markings for cutting out the servo hatch later.

After the sheeting was glued down I cap stripped the aileron ribs to match the thickness of the wing sheeting then glued in two false ribs between each aileron rib to replicate the ribs of the real ailerons.  After the glue cured I used a spacer block the same thickness as the cap strips to hold the razor saw parallel then sliced the Extra material off.  Once both sides have the false ribs I’ll cut the ailerons free.